
DIY Faux Flowers & Vase Decor

It goes without saying that plants are one of the unmistakable decor additions to your home. However, not all of us have the time required to maintain them. A simple solution to steering clear of this common issue is to choose faux flowers over green plants.
In today's DIY blog post, I'm going to share all the know-how you need to make roses using burlap cloth. And what's more is you'll also get to learn how to repurpose your old vases by giving them a chic makeover. Check out the steps below and have fun!
DIY steps for faux roses
1) Get ready with all the essentials
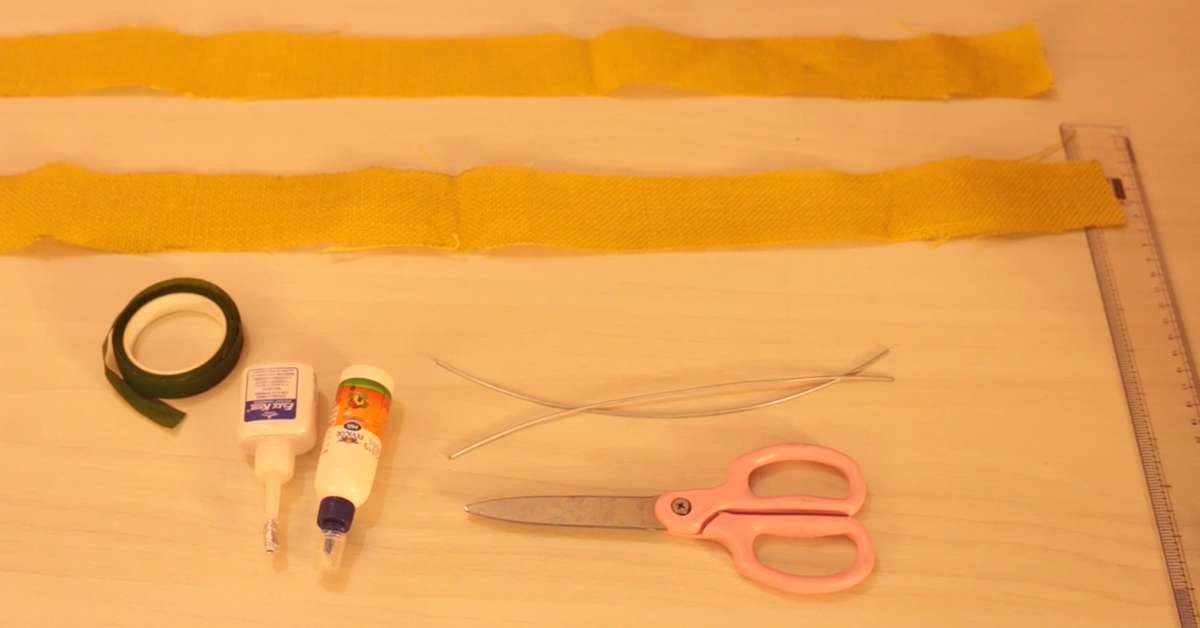
I suggest getting your hands on all the essentials – first things first. To make faux roses, you'll need a handful of items, including:
- Burlap cloth (cut into long strips that measure 60 cm in length and 5 cm in breadth)
- Green art and craft paper tape
- Bendable wires cut to 18 cm
- Art and craft glue
- Industrial glue
- A pair of scissors.
I want to add that using burlap cloth isn't a must. You can use any type of fabric (of any colour) as long as it is thick and doesn't have a slippery texture.
2) Start by making the rose petals
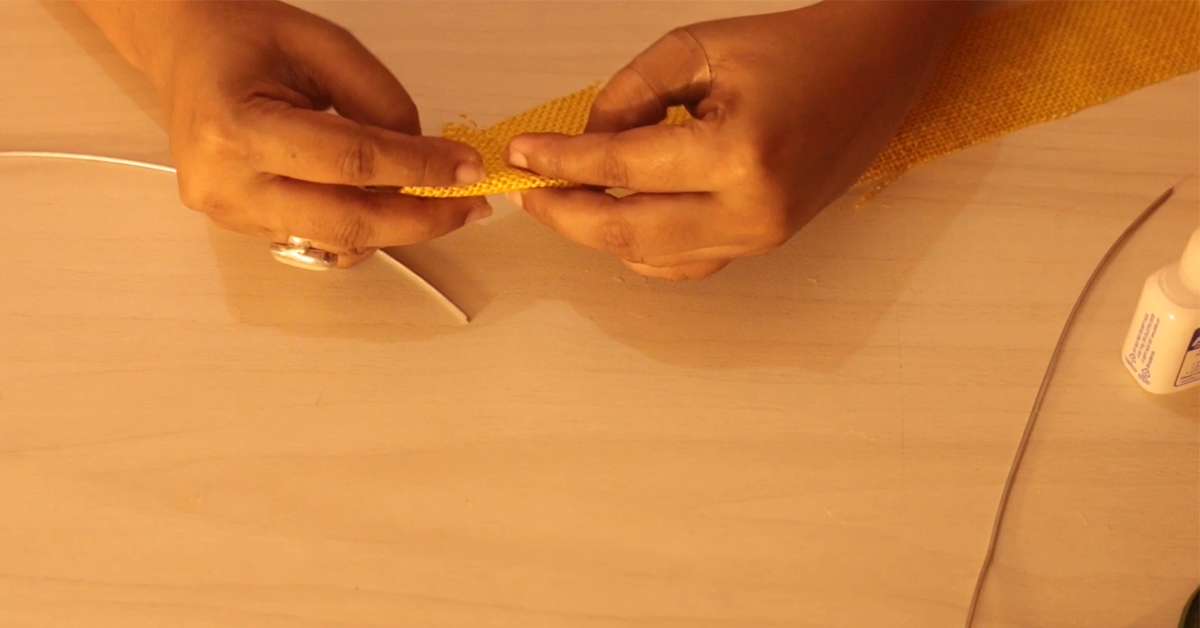
Through several trials and errors, I found out that starting with the petals will help you avoid confusions. To get started, take a bendable wire which you'll be using as the stem of the rose.
On one end of the burlap cloth strip, fold a triangle. Place one end of the bendable wire on the fold and start wrapping the cloth strip around it. After wrapping the first triangle fold on to the wire, use a drop or two of the industrial glue to secure it.
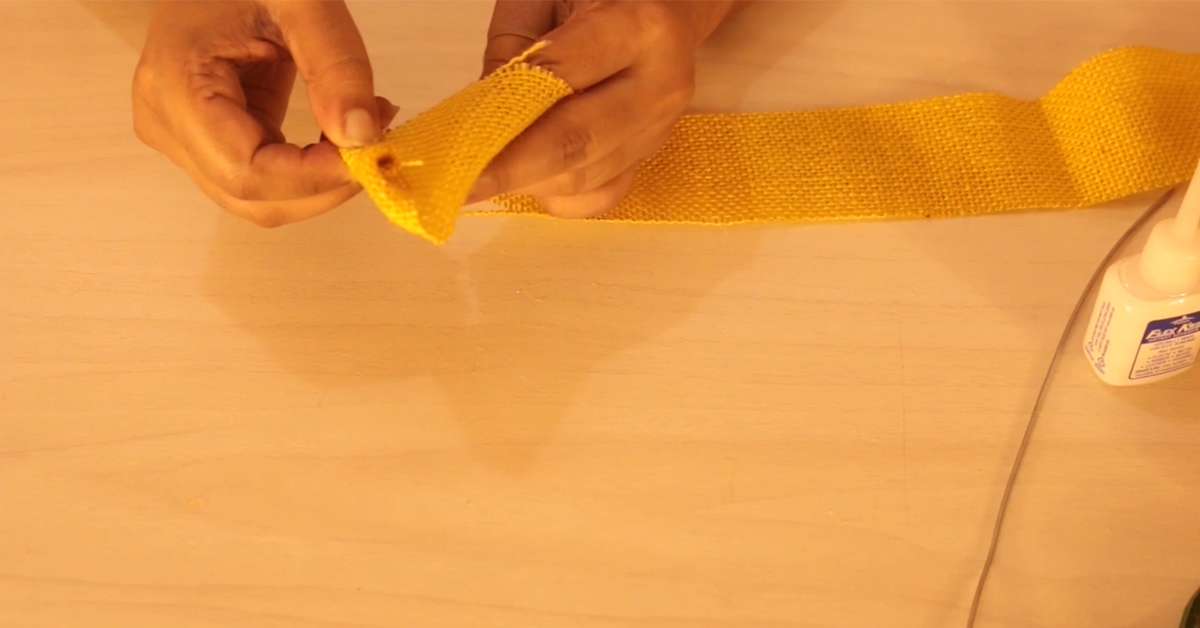
3) Start giving the petals a proper shape
Inverse fold the burlap cloth strip into another triangle. As you did in the first step, add a dab of industrial glue on the cloth and wire to secure the wrap for the second fold. Repeat this process.
Upon folding and wrapping the entire length of the cloth, you'll have yourself good-looking rose petals. Glue every open fold by thoroughly checking the entire diameter of the petals.
4) A bit of trimming for a clean look
After you are done folding all the petals, there may be some extra threads. Be sure to trim them using a scissor to give your almost-finished rose a clean look. Add one or two drops of industrial glue on the trimmed areas. This will keep the threads from coming out.

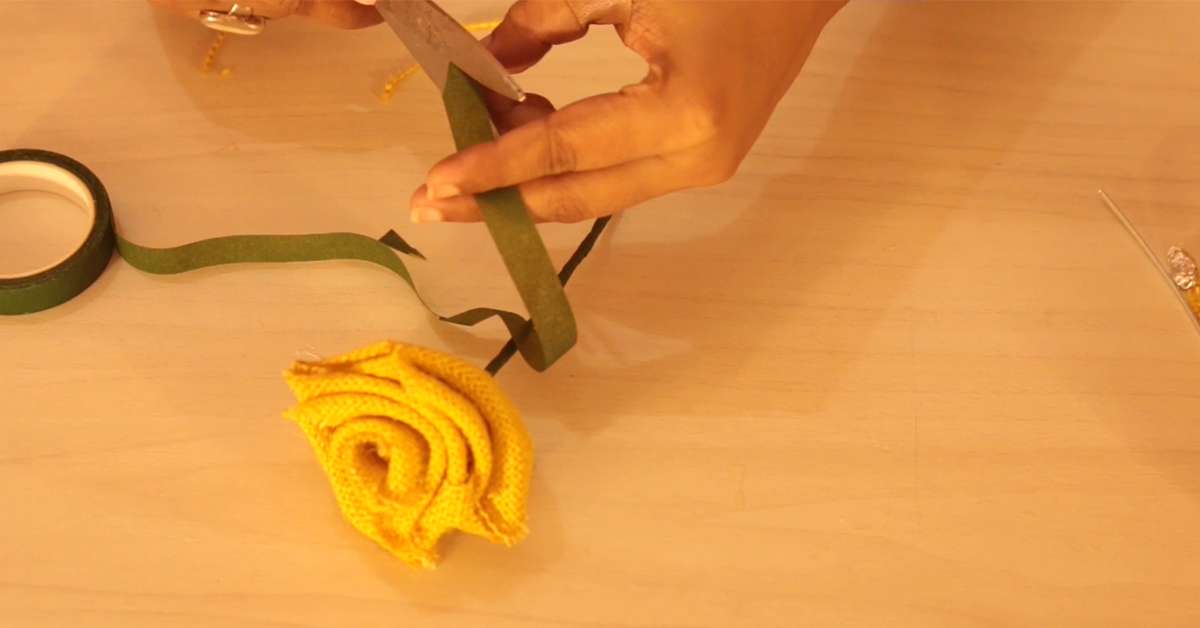
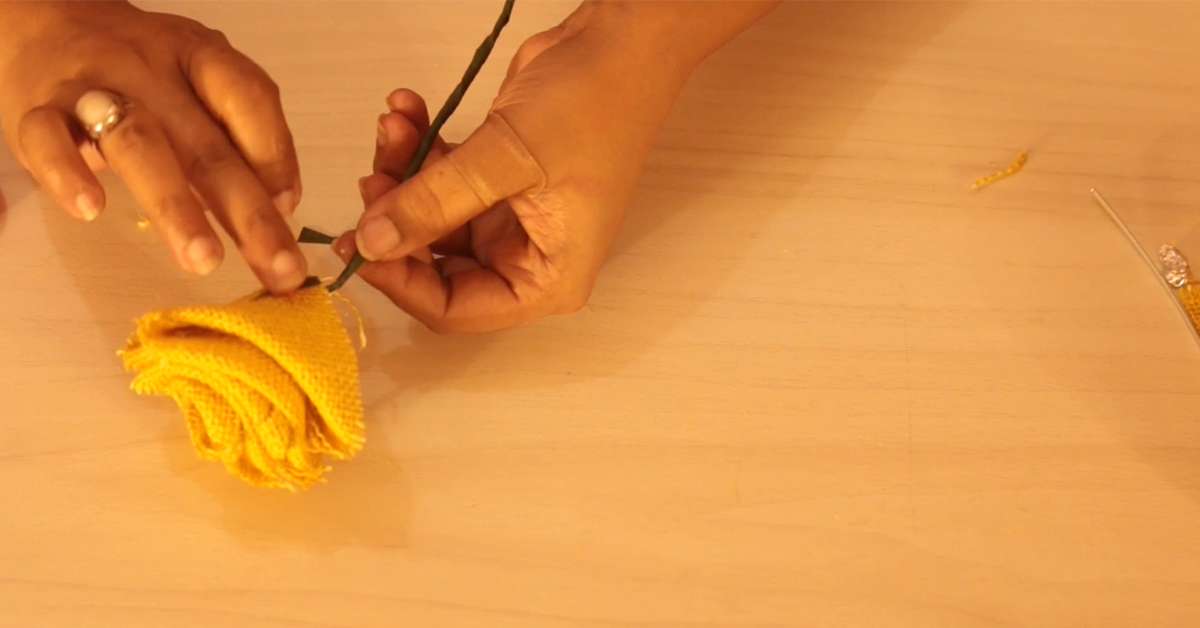
5) Stem and sepal to complete the look
Give your rose its final look by working on the stem and sepal. Apply art & craft glue (Fevicol or similar) on the entire length of the wire and wrap the green paper tape all the way down to the end of the wire.
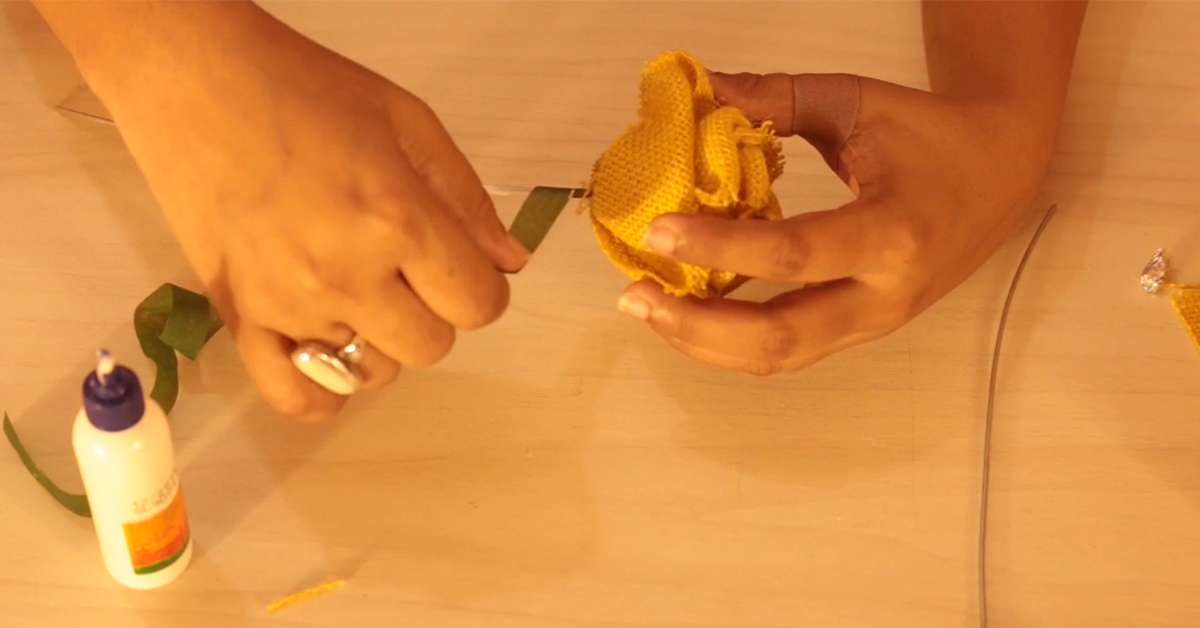
To give the rose a natural look, adorn it with sepals. To make them, cut the paper tape into small triangles and glue them to the bottom section of the petals.
DIY steps for vase makeover
After you are done making the roses, you'll need an equally beautiful vase to flaunt them in your favourite rooms. Through the steps below, I'm going to show you how to give your old, ho-hum vase a chic makeover.
Gather all the essentials
To give that much-needed stylistic oomph to your old vase, you will need:
- An old vase
- Jute rope
- Macramé threads
- Hot glue gun
- A pair of scissors
- A comb

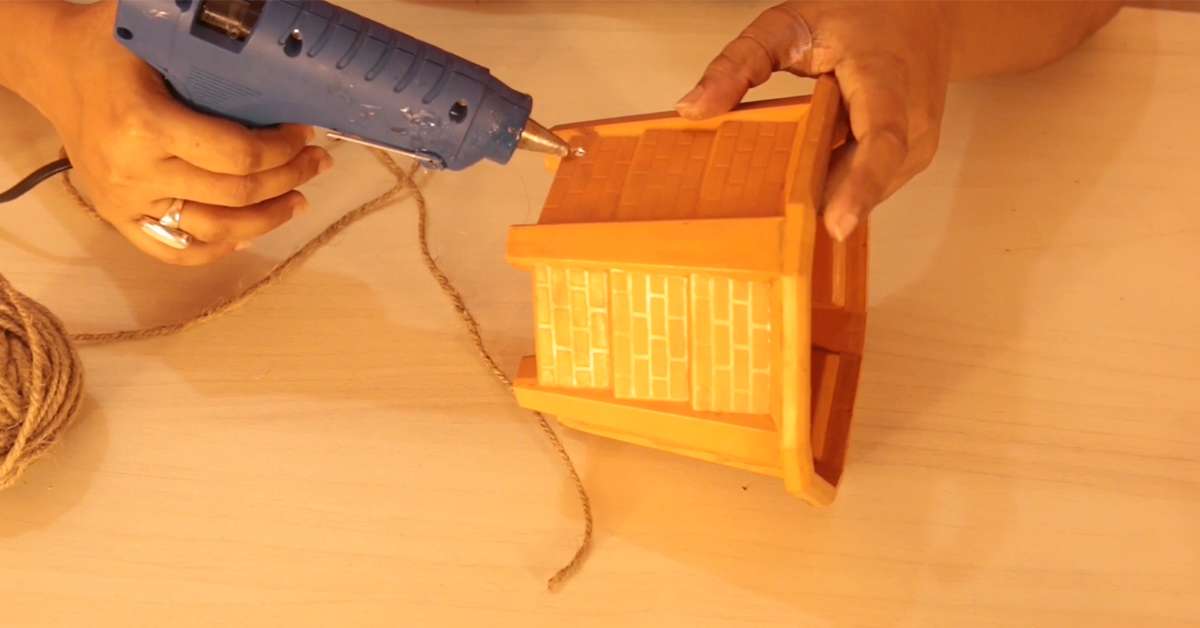
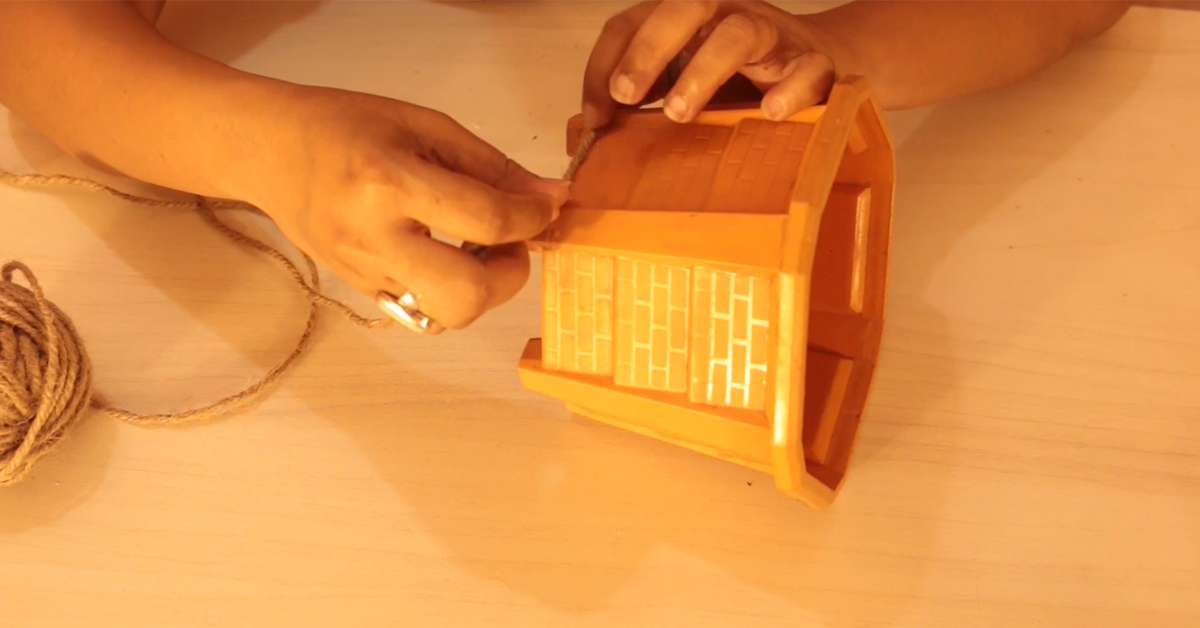
1) The jute rope wraparound
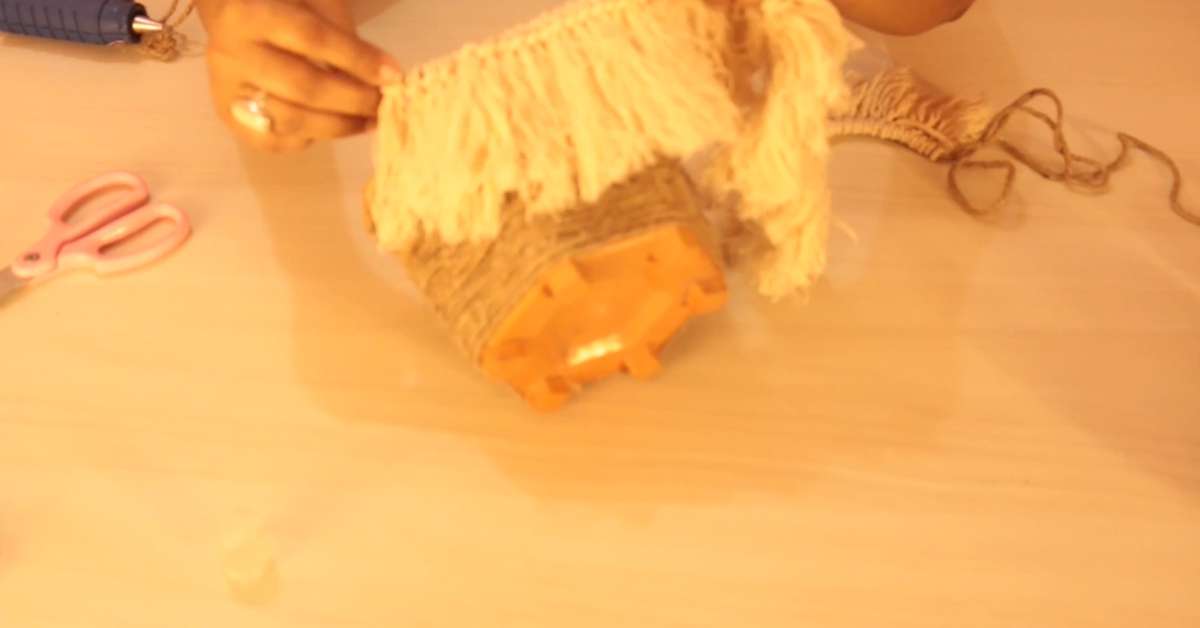
The first step is to wrap the side section of the vase with jute rope. Apply hot glue on the bottom of the vase and wrap the jute rope as you go. Gradually work your way towards the upper section of the vase.
2) Work on the outer edge
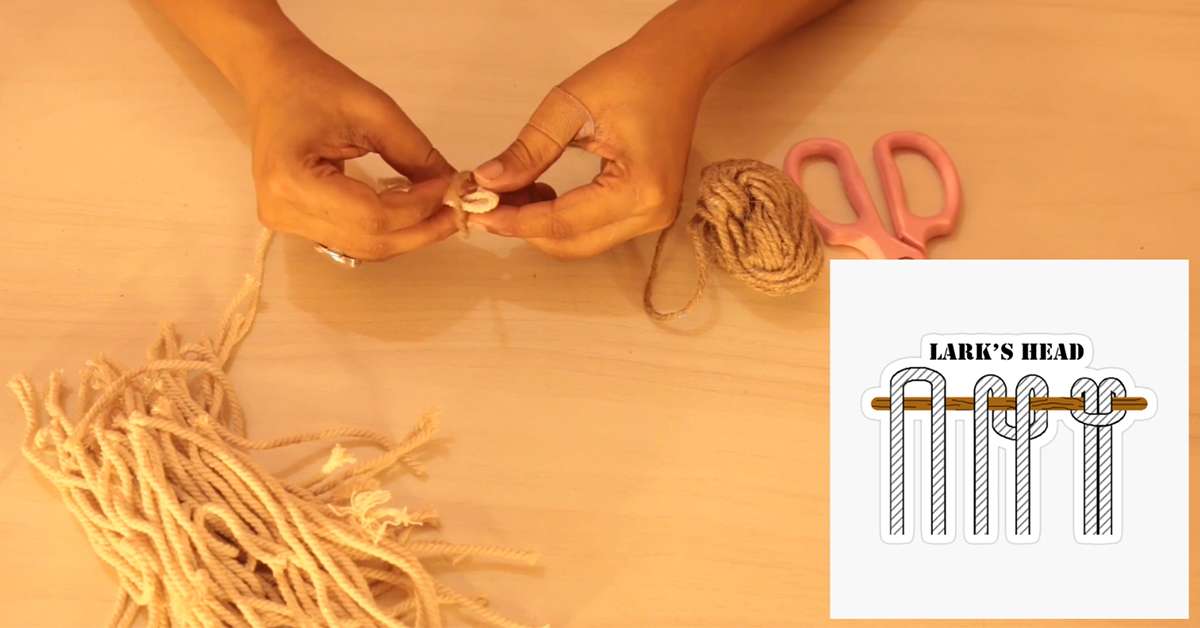
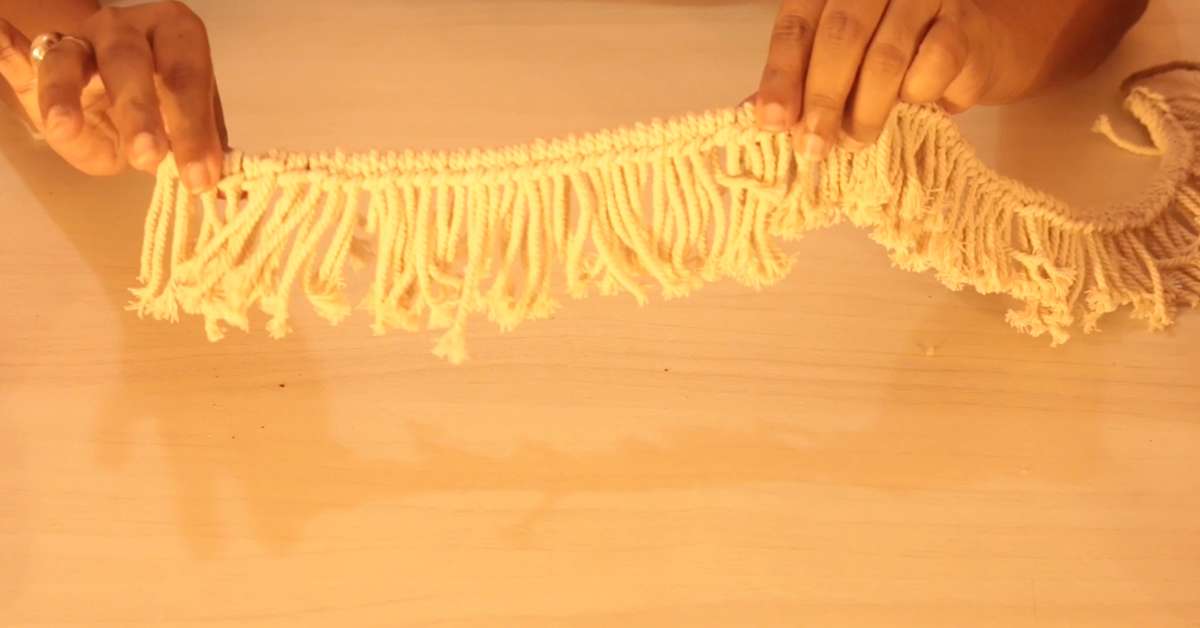
Decorate the outer edges of the vase with a lace-like style. To do this, take macramé threads and tie them in the Lark's Head knot style over a long jute string. Consider it done once the lace design is long enough to cover the entire outer edge of the vase.
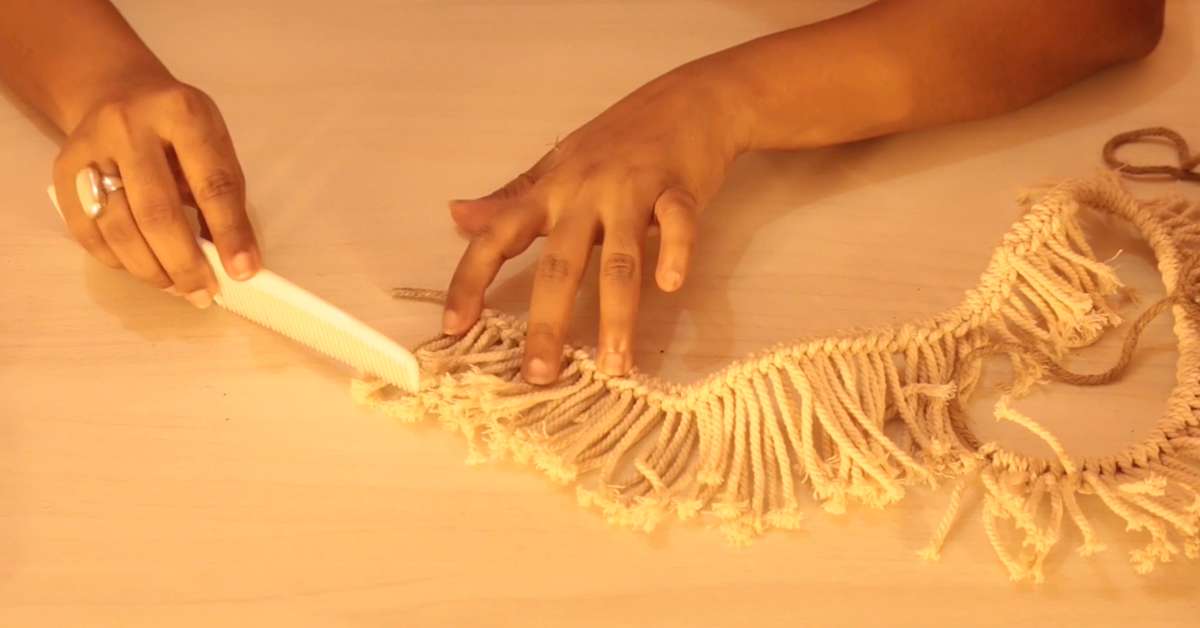
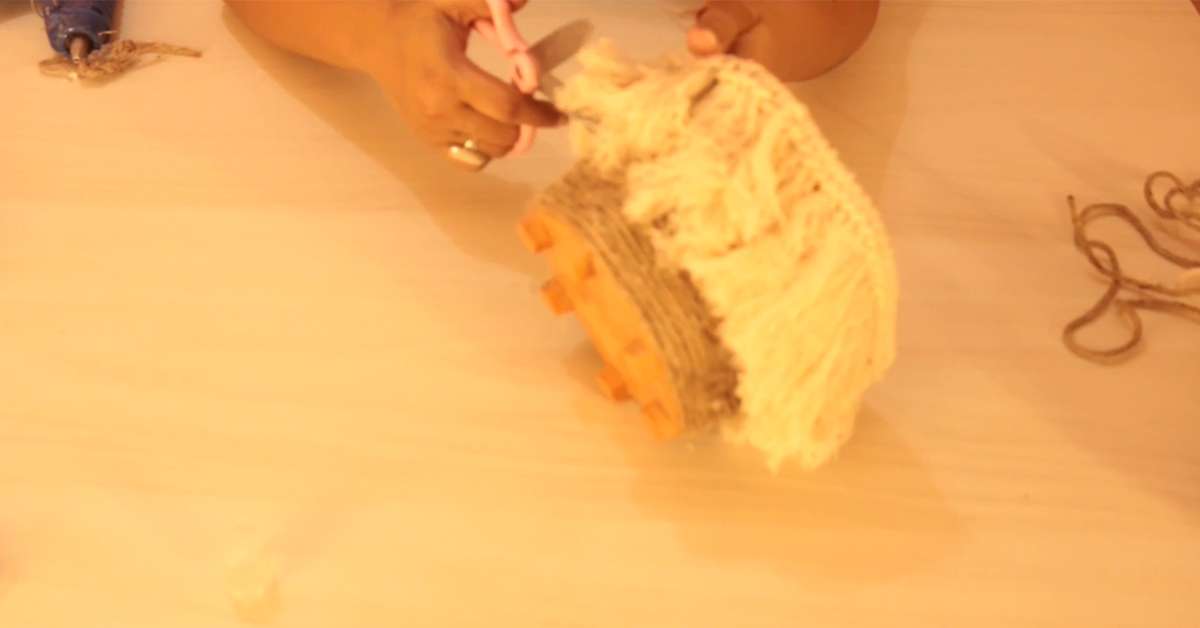
3) Brush open the macramé threads
Rather than leaving the macramé threads as the way they are, I recommend brushing the threads open using a comb to get a rug-like fringe style.
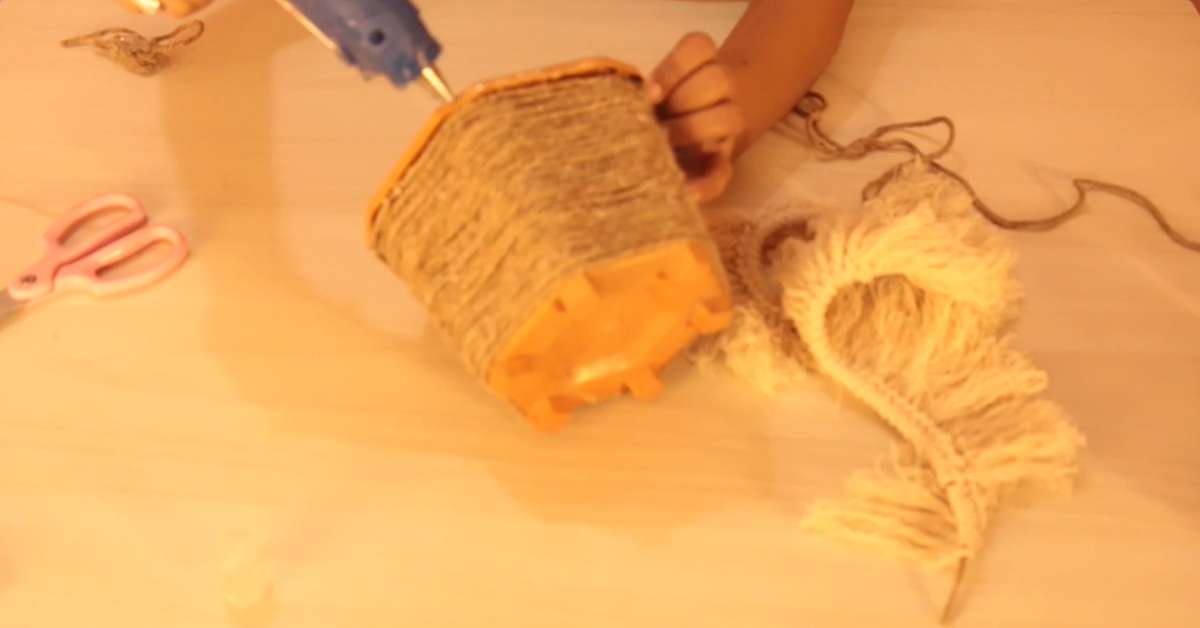
4) Give the vase the final touch-up
The final step is to glue the fringe on the upper outer edge of the vase. Use the glue gun to apply hot glue on the rim of the outer edge and attach the fringe. Make sure that the fringe covers the entire outer edge of the vase.
5) A bit of trimming to wrap it up
After gluing the fringe, I found out the length to be uneven. If you too do, use a scissor to even out the length and give a clean look. I also recommend painting parts such as the base and top rims to add more intricacy to the vase's overall look.
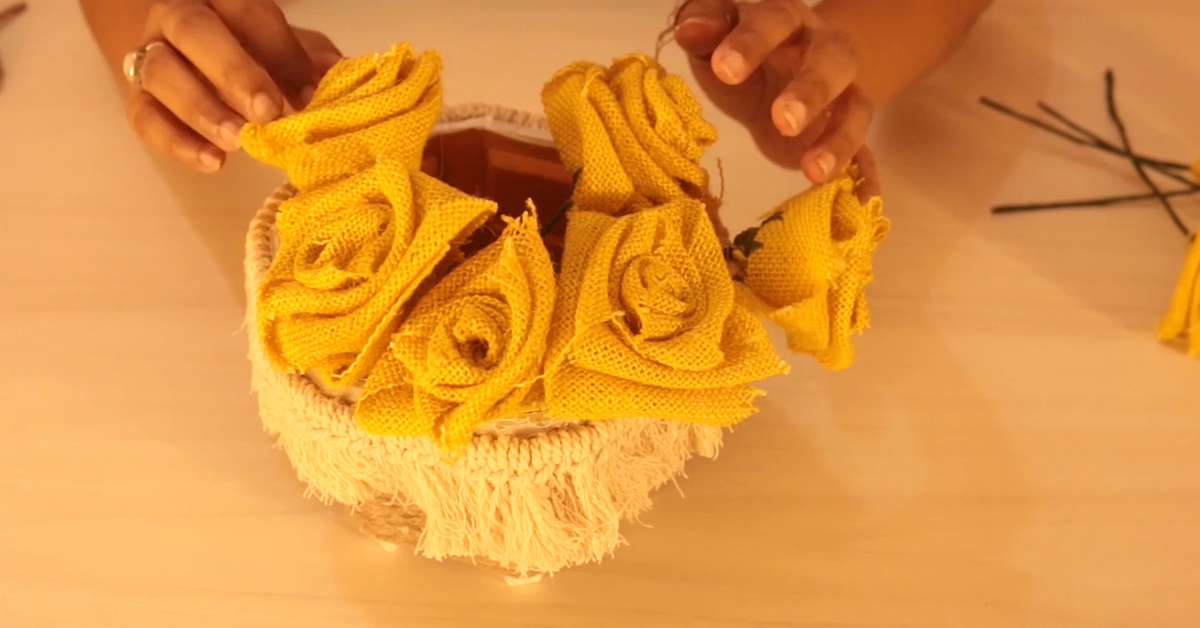
Now you're ready to flaunt your faux roses and chic vase
Arrange the roses evenly in the vase and make sure no space is left out. I recommend using the rose-filled vase as a tabletop decor accessory or a corner decor element.
I hope you enjoyed the read, I certainly did writing it. See you on the next post!
Get the supplies here:
Roses
Jute Cloth - https://amzn.to/2Oc0Edo
Wires - https://amzn.to/2ZoajEd
Industrial Glue - https://amzn.to/3edXAIg
Green Tape - https://amzn.to/3ejtmnk
Vase
3mm Macrame Cord - https://amzn.to/2ASK1Ao
Gluegun - https://amzn.to/327uhEF
Jute Rope - https://amzn.to/3ejtV0q
White Acrylic Paint - https://amzn.to/2CnL2kg