
Bohemian Wall Hanging
Bohemian Wall Hanging

The walls of your rooms may seem trivial, but they speak a lot about what you have to express aesthetically. Your decor isn't complete if you neglect the walls and leave them looking bland. What's great to know is there are many ways how you can spruce up your rooms' walls.
In today's post, I've shared simple DIY steps to help you make a chic yet warm-looking bohemian wall hanging which can work wonders in elevating your space's overall look.
1) Wall hanging Essentials
Make sure to have all these items at your disposal prior to starting with the DIY steps.
- Wool
- Beads
- Glue gun
- One wooden branch
- A small piece of cardboard
- A pair of scissors
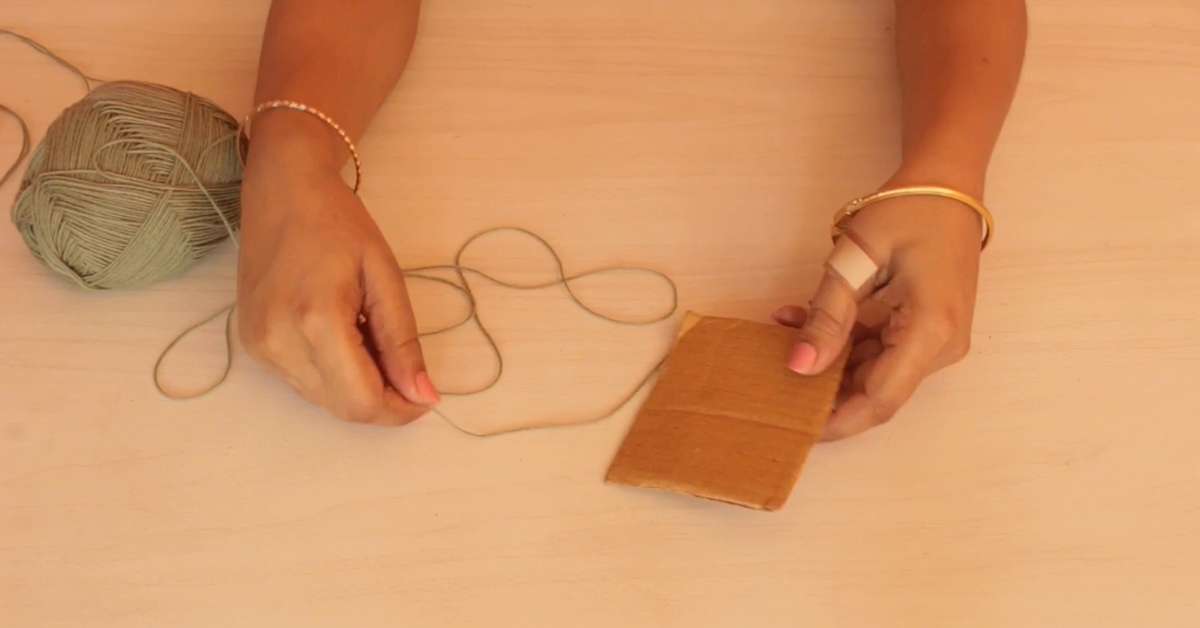
2) Start with the tassels
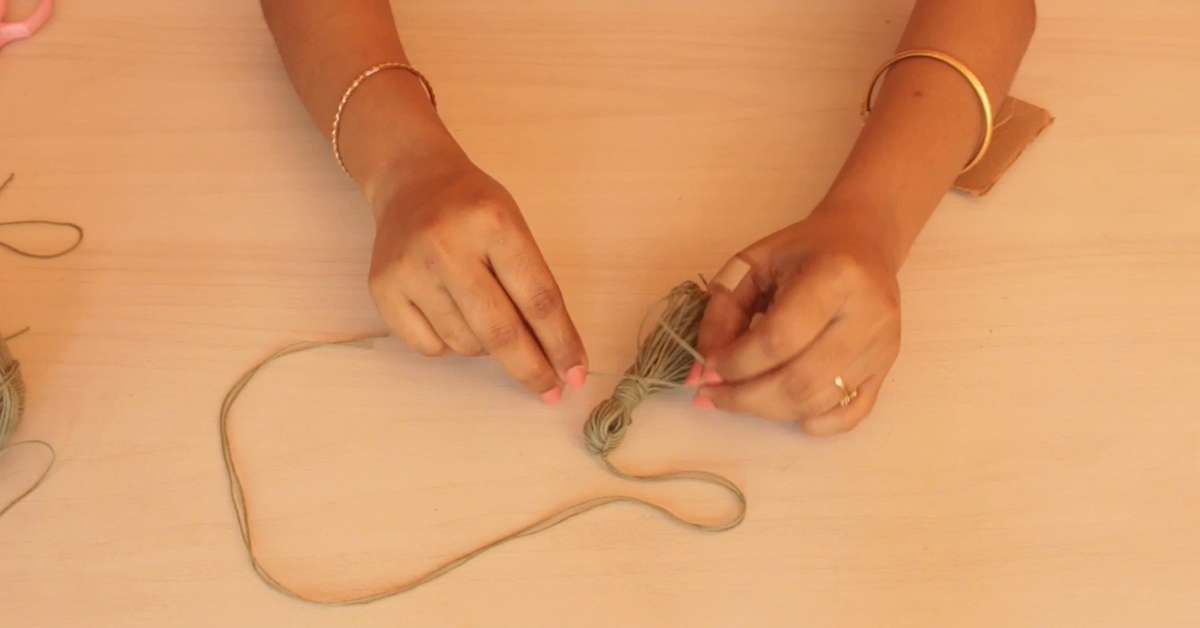
I recommend starting with making the tassels first to make this DIY project simple and well-arranged for you. First off, cut a small cardboard piece into the desired length of the tassels using a pair of scissors.
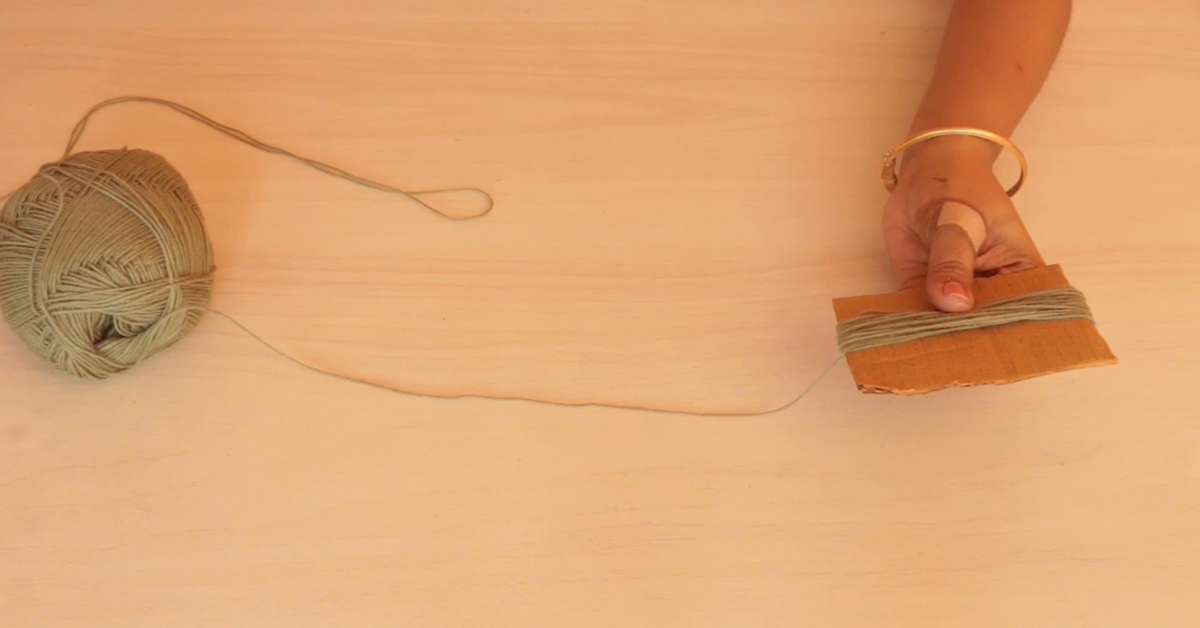
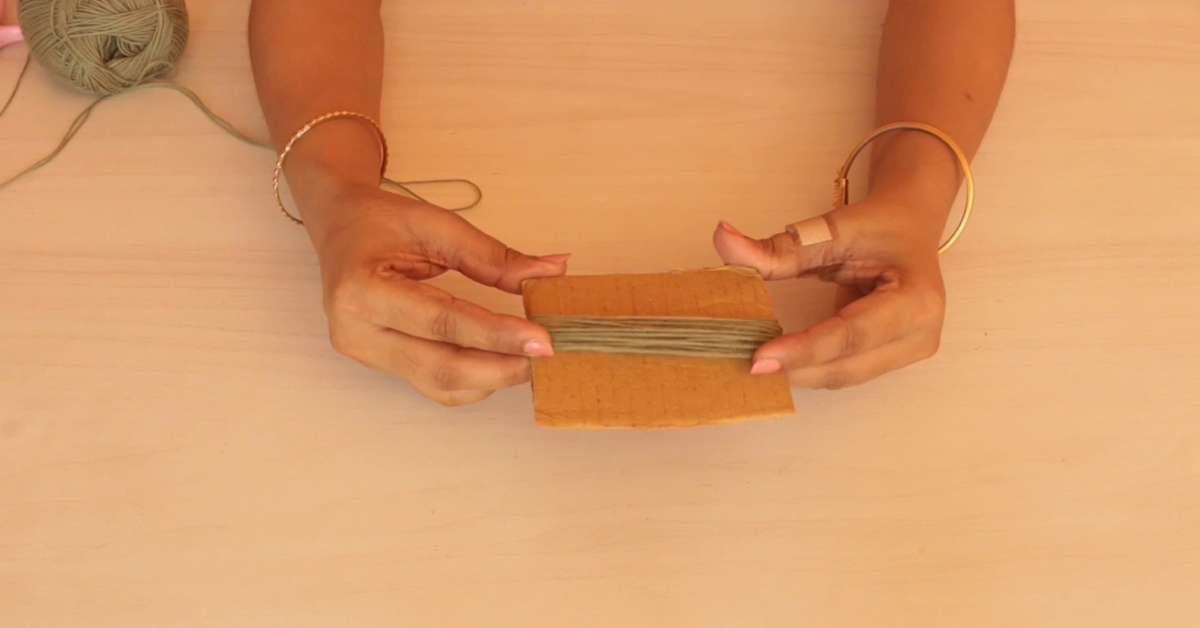
The next step is to choose the wool of your desired colour and then start winding it. Use the cardboard piece as the guide to make the loop.
3) Remove the loop and tie the tassel
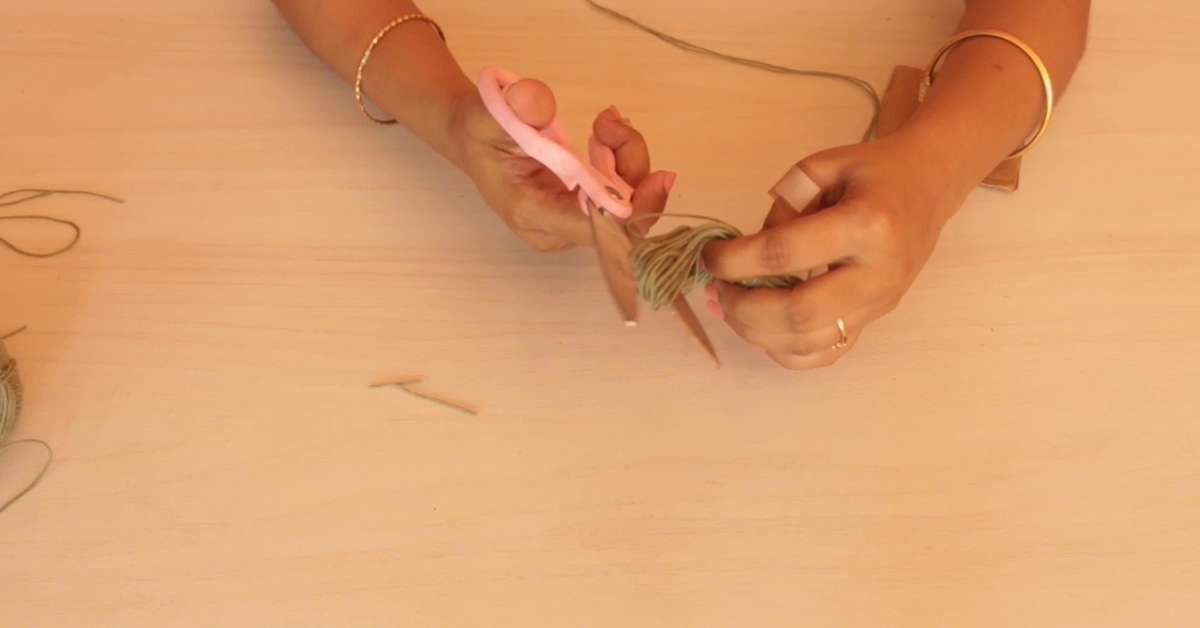
Once you get the thickness which you want for the tassel, cut it from the thread, and gently remove it from the cardboard piece.
To tie the tassel, use a long woolen thread and make a tie knot with it.
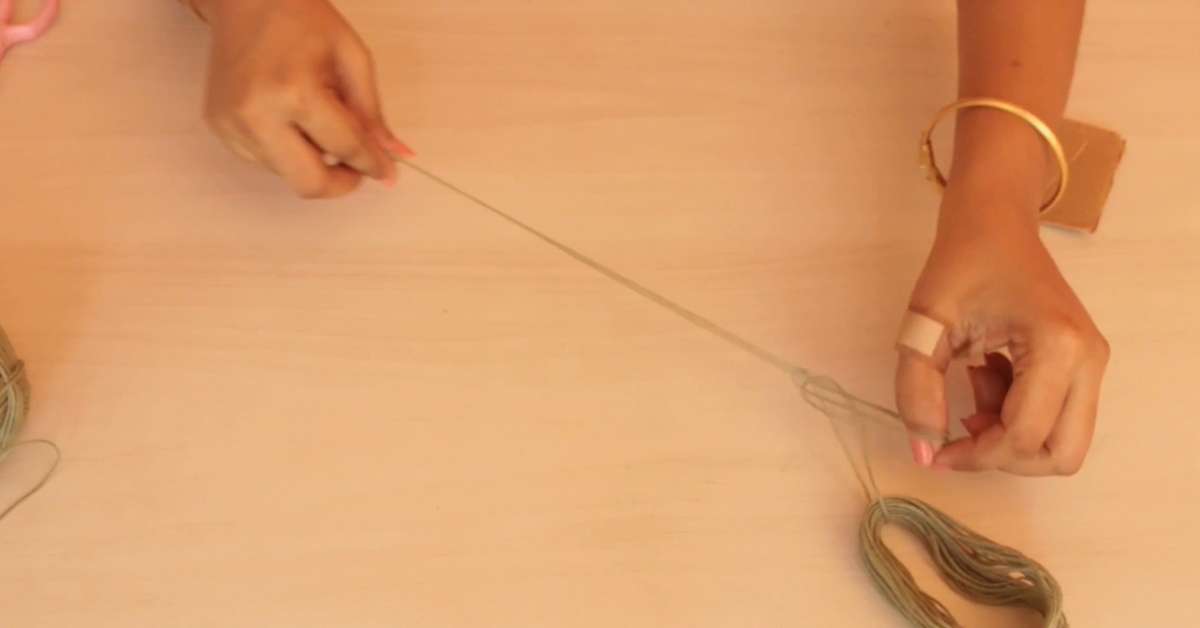
4) Divide the tassel's head and skirt
Use a long woolen thread and use it to tie the tassel loop near the end where you've tied the first/top woolen thread. I recommend gluing the tie knot to properly secure it.
Once done, cut the opposite end to free the skirt of the tassel.
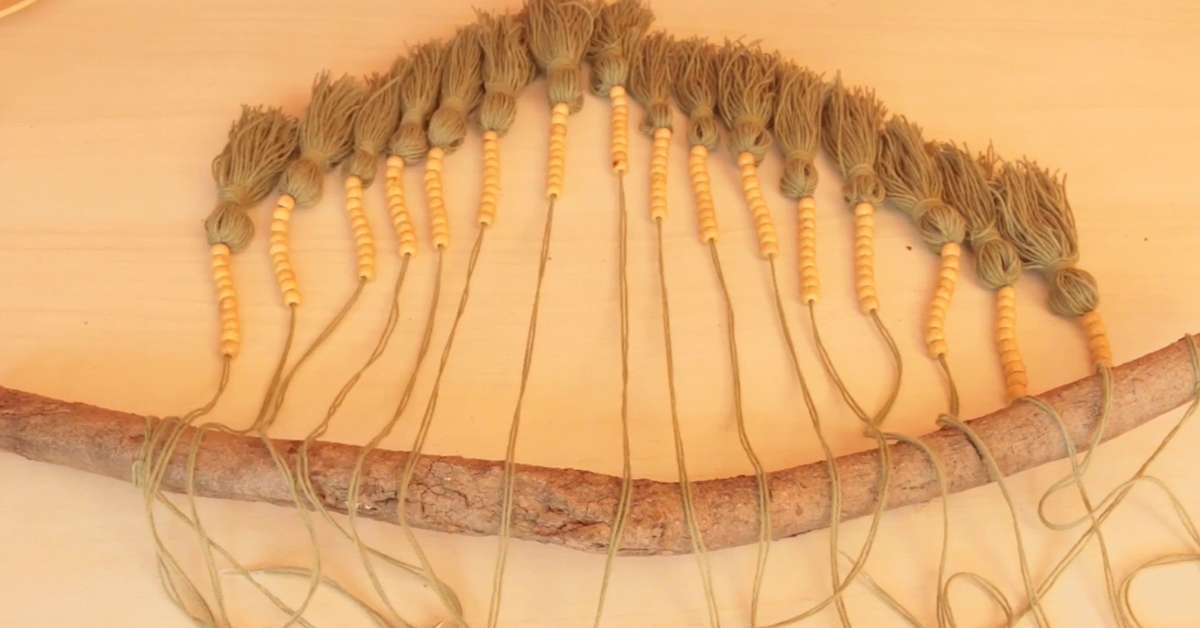
5) Complete the tassel's look
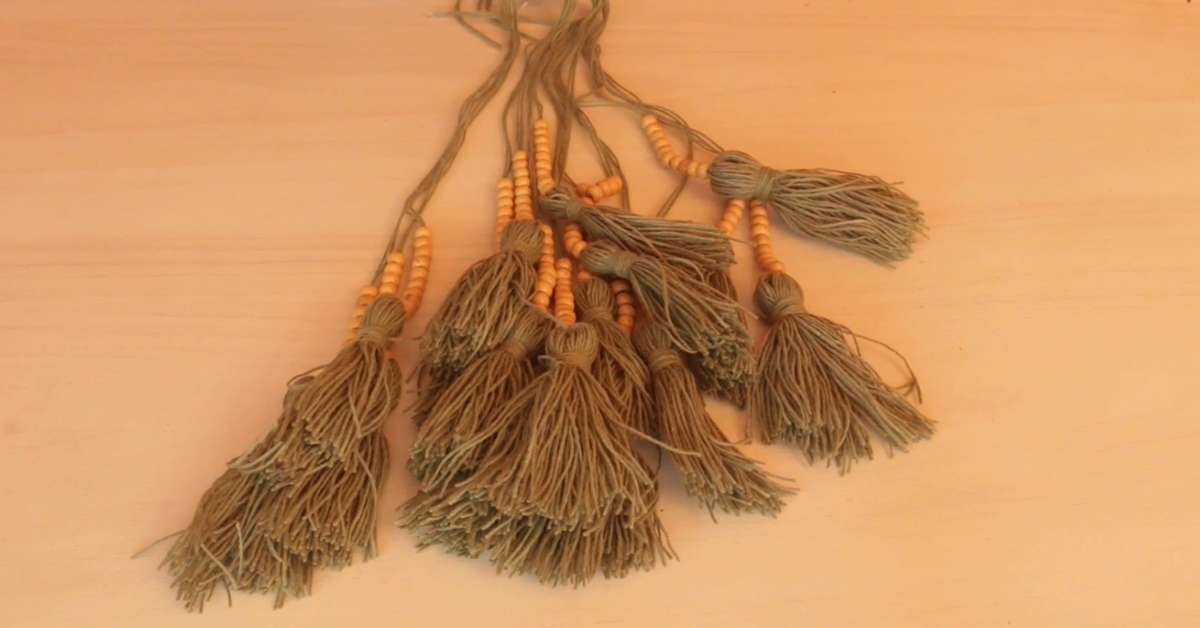
The final step to completing the tassel's look is to use decorate the top thread with beads.

For the entire wall hanging, I recommended making 15 to 18 tassels. Depending on the length of the wooden branch, you can make less or more tassels.
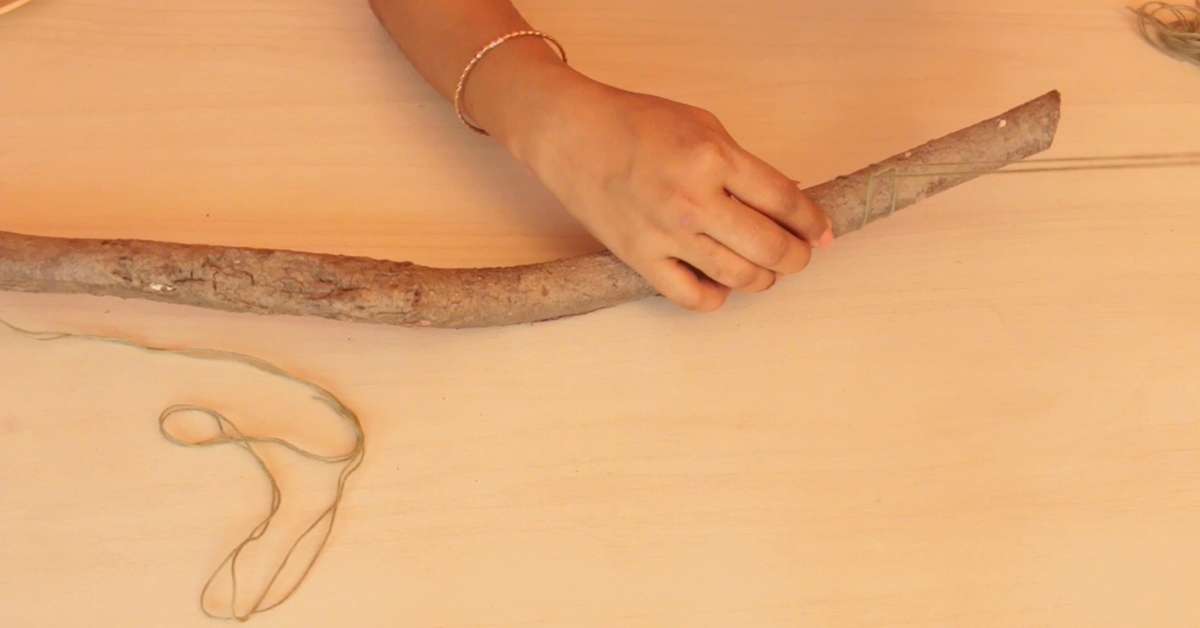
6) Get the wooden branch ready
To use the wooden branch as the base of the wall hanging, tie two woolen threads on both ends.
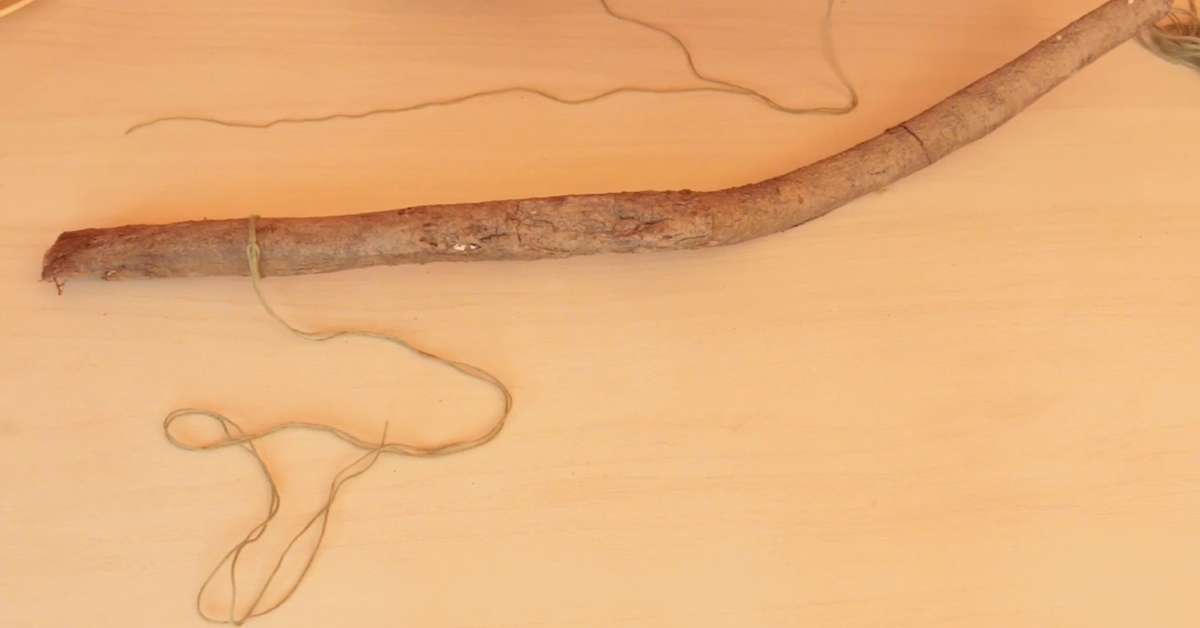
Tie both threads in the middle with a knot.
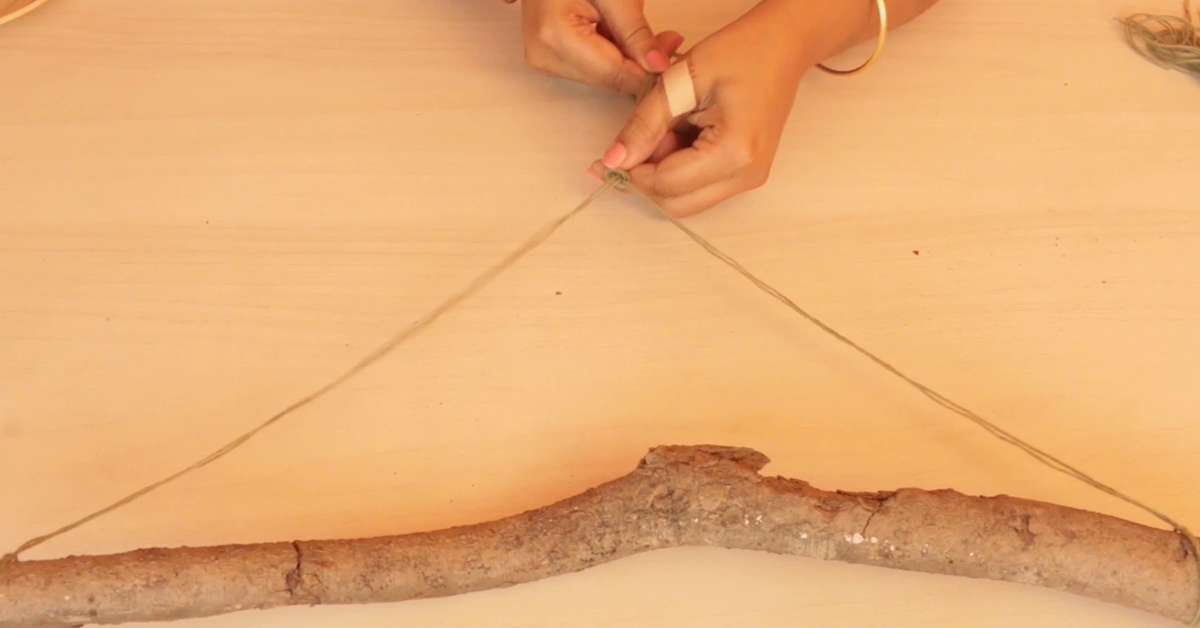
Use a bead to give the knot an appealing look. Secure it with a knot.
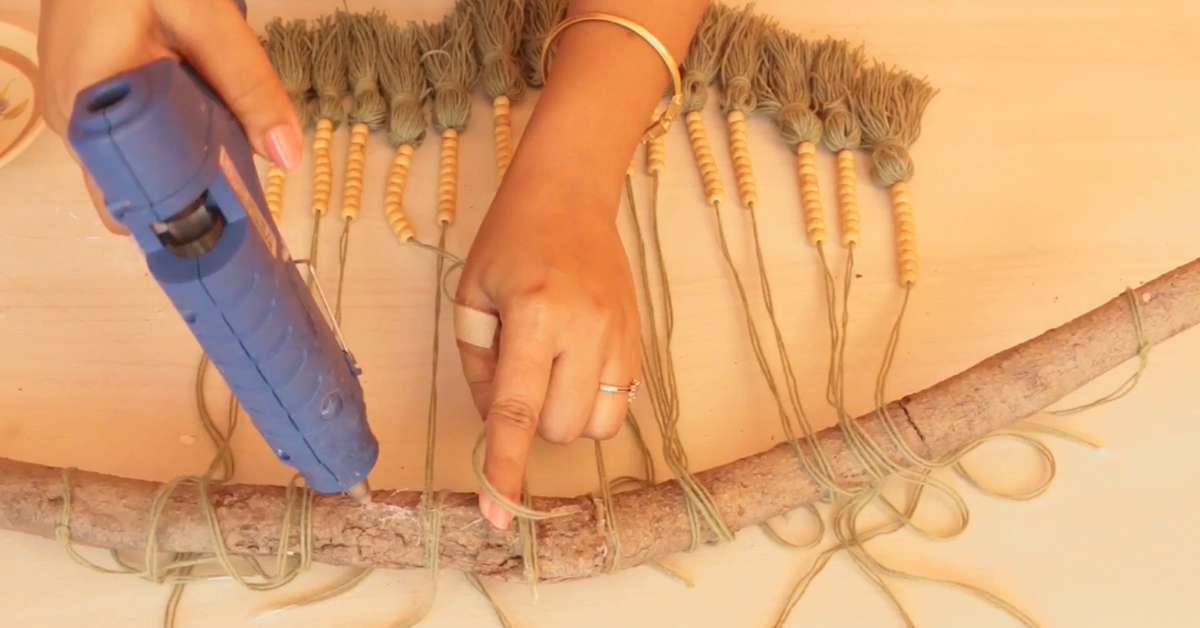
7) Arrange and glue the tassels
Give the wall hanging its final look by arranging and gluing the tassels on the wooden branch. I chose the V-shaped pattern for the tassel arrangement. Feel free to explore other patterns.
After you're done arranging the pattern, secure them to the wooden branch using a glue gun.
Trim the extra ends of the tassels as the last step, and you have your wall hanging looking clean and ready to add an unmistakable boho-chic look to your room's wall.

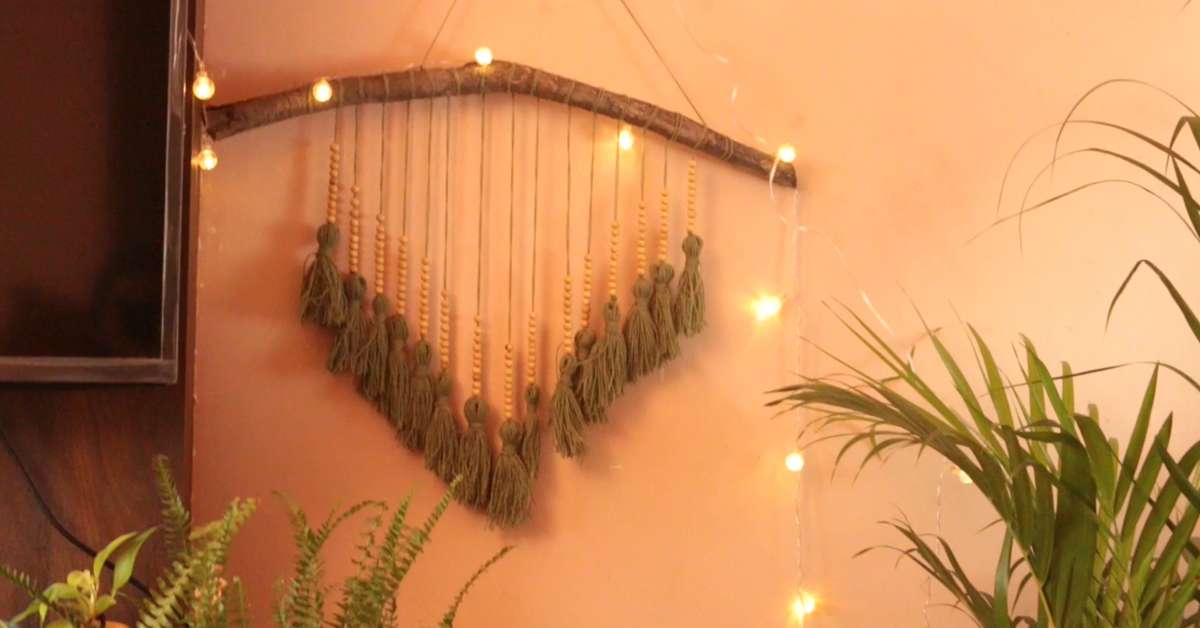
Flaunt your bohemian wall hanging!
Use your bohemian wall hanging to elevate the overall look of your room's wall. Apart from adding interesting to your otherwise plain-looking walls, this wall hanging also creates an intriguing play on textures.
Enjoyed the DIY project? Be sure to stay tuned as I'll be sharing more such simple and creative DIY tips on all-things home decor.
Watch the making of this Boho wall hanging: https://youtu.be/Wb1fWWMMlIA
Supplies Required:
Branch - Fallen near a tree
Wool - https://amzn.to/3gmHddx
Beads - https://amzn.to/3is8ah3
Glue Gun - https://amzn.to/33kEAp2